SO here's the T...
There's no such thing as mastering the perfect care regimen. Don’t worry, at the end of the day the best teacher is experience. But just to give a you a cheat sheet, below are 10 basic steps that can help you get a jump start on the right path. These are not meant to be followed in any particular order and they won’t answer every question that might pop up. They are meant to guide you and ease the adoption process- plus, we want to incite your curiosity! The web is loaded with amazing resources and the plant community is a forum that loves to extend a helping hand. We created Bark & Vine first as a place to share our experience and our journey, so if you have any questions or concerns about any of the topics below, feel free to email us at hello@barkandvineshop.com.

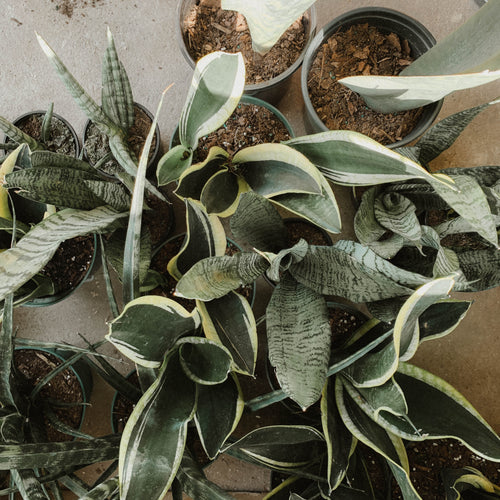
1. LIGHT
Determine the type of light you get in the room and this will help you decide on the right plant suitable for the space. Each plant requires different lighting condition. For example, if you notice you only get shade or low light for most of the day, a cactus will never thrive in your space. Instead, check out low light loving plants like snake plants or prayer plants. Rotate your plants every week to face the light source so that all the leaves get equal amount of light.
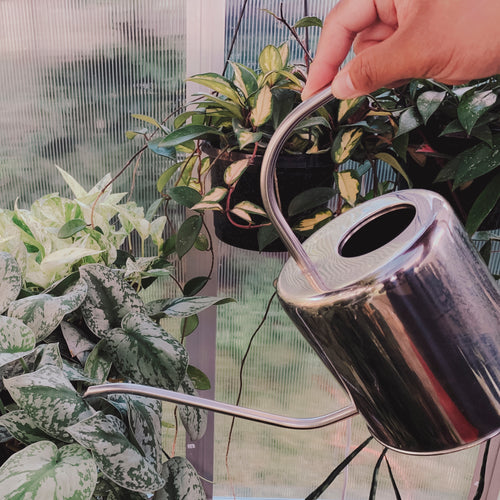
2. WATERING
Only water your plant when it needs it. Make sure you water the plants just enough for the water to be absorbed by the soil and excess water can drain out from the bottom. Stick your finger at least an inch or two down the soil. If the soil sticks to your finger, refrain from watering for another day or two. The weight of the pot can also determine if the plant needs to be watered. A plant that doesn't need water is heavier than a plant with dry soil.


3. SOIL
Most plants can stay in their nursery pot for at least a year. When your plant is finally home, lift the plant out of the pot to check the roots. If your plant is root bound, you can re-pot your plant ASAP. If needed, re-pot your plant by going up a size. For example, a 4" pot should be re-potted to a 6" or 8" pot, but don't go all the way to a 10." A lot of soil for a smaller plant absorbs too much water for the plant to uptake and can lead to root rot.
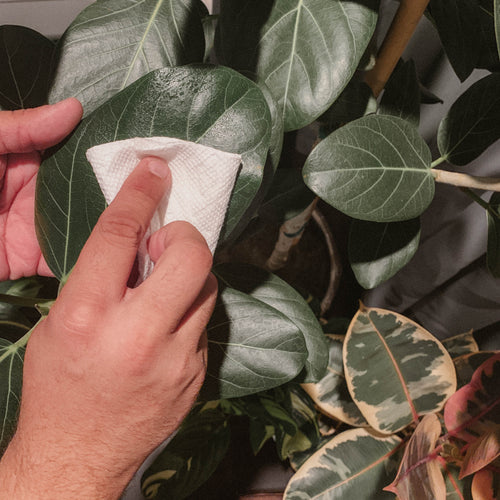
4. CLEAN
Just like any home decor, plants collect dust. Wiping down the leaves regularly ensures that the leaves can continue to photosynthesize at its maximum ability. Any dust build-up on the leaves or your windows can inhibit the ability for the plant to take up its natural food source. You can also take your plant in the shower and give it a nice spray to wash off any dirt/dust on the leaves.


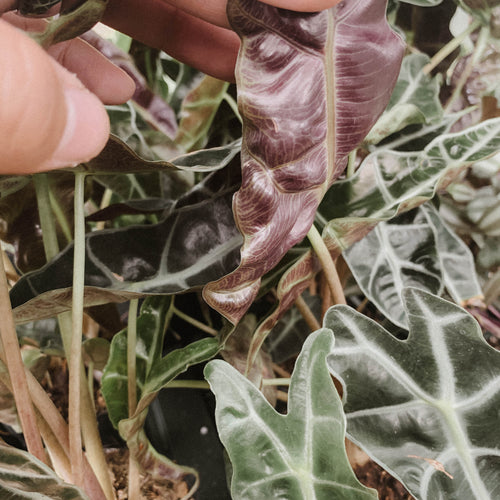
5. INSPECT
If you notice your plant loosing its natural vibrancy or you see some yellow patches on the once perfectly green leaves, check the underside and you'll most likely find a wide range of damaging insects to look out for. Mealybugs, spider mites, thrips, and aphids are common insects, but luckily, they are easy to combat- damaging to plants, though harmless to humans and pets. Checking your plants for insects on a regular basis will help you out in the long run.
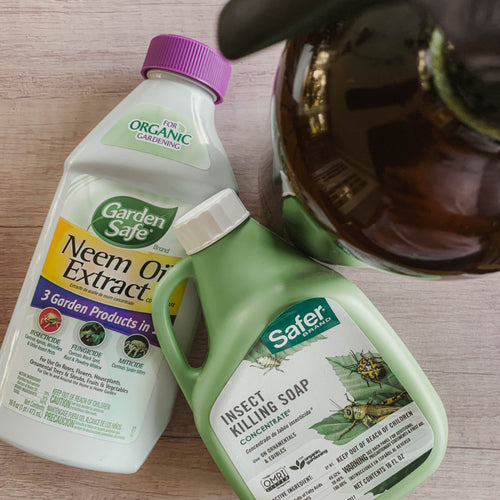
6. TREAT
Infected plants should be quarantined to prevent other plants from being infected. General use of neem oil and insecticidal soap (1 tsp per 32 ounces) is a tried true way of keeping insects at bay. Spray every leaf so it's saturated with soapy water or neem oil, alternating between the two works best. Most life cycles of insects are between 7-14 days so treatments should last at least this long.


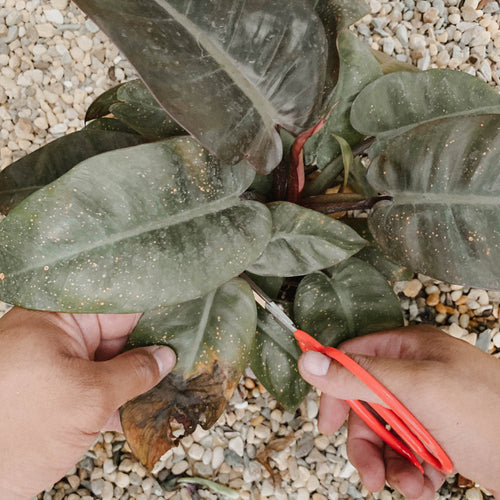
7. PRUNE
Plants use their leaves as a way to communicate their needs. Prune any damaged or old leaves to keep the plant looking its best. Crispy, brown edges indicate over or under watering. Assess your watering regimen and adjust for the happiness of the plant. Consistent yellow leaves at the base of the plant without any brown patches are old leaves that have run out of energy. This is completely normal. It's the plants way of shedding the old to allow room for new.
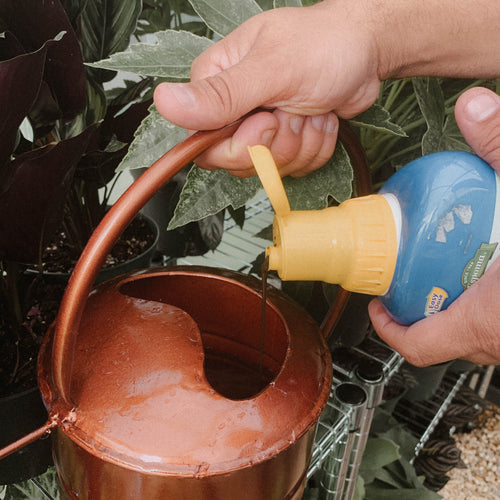
8. FERTILIZE
In the wild, the soil is constantly being replenished with nutrients from organic composts such as dead leaves, branches, and droppings. These nutrients get absorbed by the plant to aid in growth. In our homes, the plant is reliant to the nutrients we provide. Adding fertilizers to the soil mimics this natural process. Fertilizers should only be given during the growing season (aka spring to fall). There are many fertilizers out in the market, just make sure to follow the recommended dose as instructed.


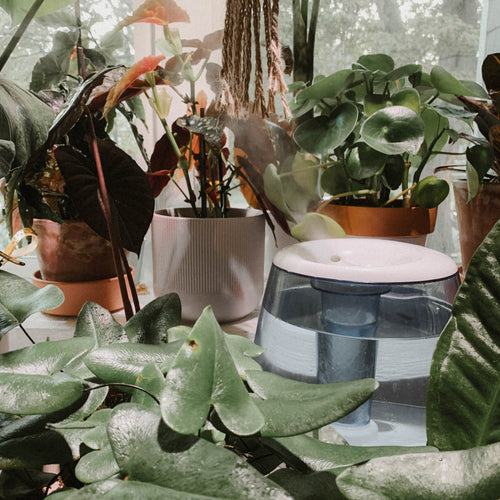
9. HUMIDITY
Most houseplants originate from tropical areas of the world where humidity plays a big part of their health. Most plants do well in standard levels of humidity that is found in our homes. If you're comfortable, then your plants are. However, some plants may require a higher dose of moisture. Regularly misting your plants will help temporarily and grouping them together will create a micro-climate that will naturally elevate the humidity. Placing your plant on a tray with pebbles and water will create higher levels as the water evaporates around the plant. The most effective way is placing your plants next to a humidifier, which regulates the humidity for longer stretches of time.
10. DORMANCY
Many plants go through a period of dormancy from late fall throughout winter. During this time, your plants will halt new growth, fertilizing should stop, and your plants do not need to be watered for an extended period of time as wet soil takes longer to dry out during the colder seasons. The most important thing is to maintain a consistent temperature as to not shock the plant. Some leaf loss may occur and this is completely normal. Your plants will appreciate a more hands-off approach. They may not be doing much, but they will be back by springtime.